
Project Overview
This is a minimalist, beginner-friendly woodworking project that transforms a standard 8-foot 2×4 into a modern “C” table. It can be finished with a glass, acrylic, or wooden top.
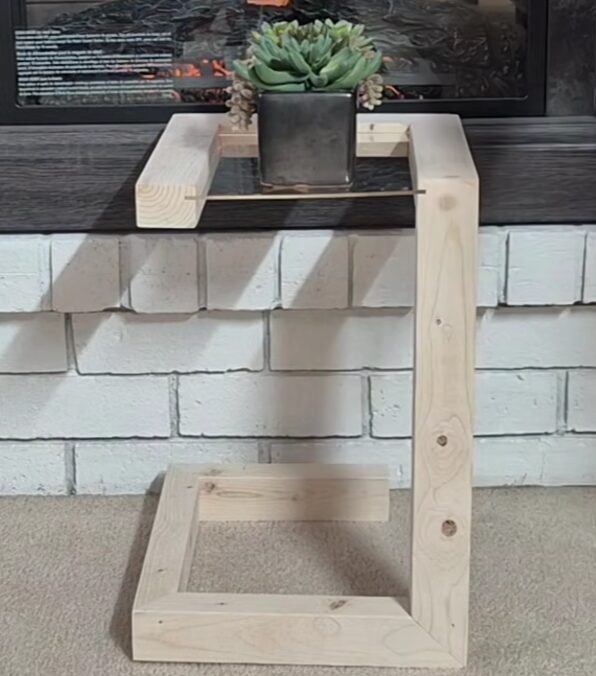
This project proves you don’t need expensive hardwood or a fully kitted-out workshop to create a striking piece of home décor. Using nothing more than a standard 2×4 from your local home-improvement store (or even leftover construction scraps)
Materials & Tools
- Lumber: One 8-foot 2×4 board.
- Insert Top: A sheet of acrylic or glass (approx. 1/4″ thick) OR leftover wood strips from the 2×4.
- Hardware: Wood glue, 2-inch wood screws, and 1/2-inch wooden dowels (to hide screws).
- Tools: Table saw, miter saw (compound miter saw preferred but not required), drill with a 1/2-inch Forstner bit, and a sander.
- Wood glue – PVA / standard carpenter’s glue
Safety Reminders
| Always follow safe woodworking practices | |
| 👓 | Wear safety glasses whenever operating any saw or sander |
| 🎧 | Use hearing protection around power tools |
| 😷 | Wear a dust mask — especially during sanding |
| 🖐 | Keep hands clear of all blade paths; use push sticks on the table saw |
| 🔌 | Disconnect power tools before changing blades or bits |
Step 1: Prepare the 2×4 Material
- Rip the Factory Edges: Using a table saw, rip off the rounded factory edges from both long sides of your 2×4 to create sharp, square edges [00:30]. This should leave you with a board approximately 3 1/4 inches wide. You can also use a wood planer if you have one.
- Rip to Final Width: Set your table saw fence to 2 inches and rip the board [01:03]. This leaves you with a 2-inch wide strip (the main material for the table) and a 1 1/8-inch strip (which can be used for the wooden top later) [01:10].
Step 2: Cut the Pieces to Size
All structural pieces for this project use 45-degree angles. Use a miter saw to make the following cuts:
- Top Frame (Piece A): Inner length of 10 1/4″; Outer length of 12″ [01:25]. (2 pieces needed)
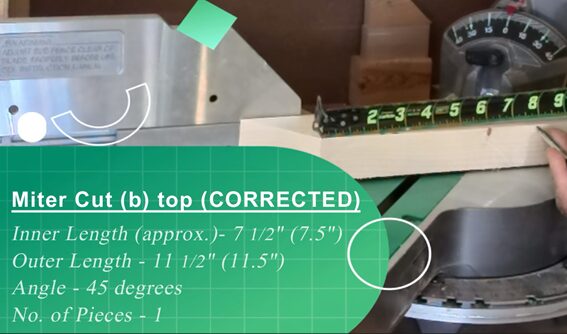
- Top Connector (Piece B): Inner length of approx. 7 1/2″; Outer length of 11 1/2″ [01:49]. (1 piece needed)
- Leg (Piece C): Inner length of 14 1/2″; Outer length of 18″ [02:06]. (1 piece needed). Note: One end is a miter cut and the other is a bevel cut [02:14].
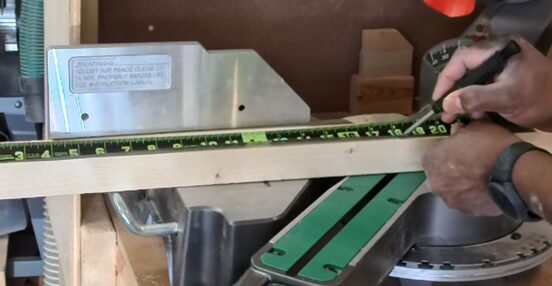
- Bottom Connector (Piece D): Inner length of 8 1/2″; Outer length of 12″ [02:23]. (1 piece needed)
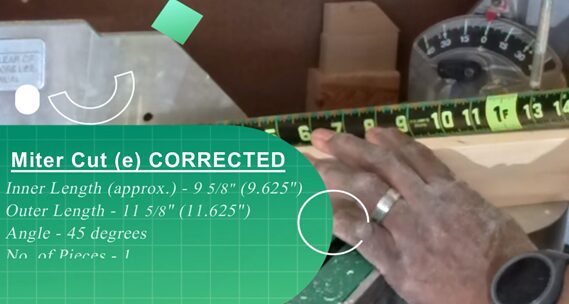
- Base Frame (Piece E): Inner length of 9 5/8″; Outer length of 11 5/8″ [02:49]. (1 piece needed)
Step 3: Create the Slot for the Top
Before assembling, you need to create a “groove” or slot for the top insert to sit in.
- On the inside edges of the top frame pieces, use your table saw to cut a slot slightly wider than your top material (e.g., just over 1/4″ wide) [05:42].
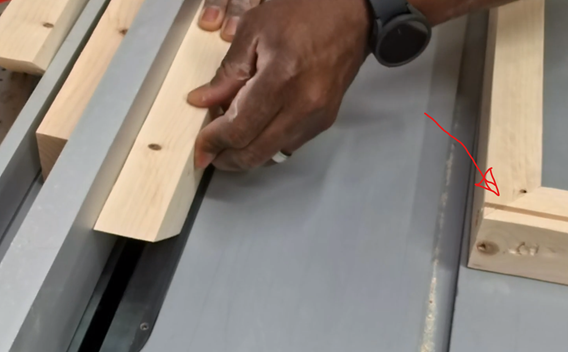
- If using wood strips for the top, ensure the slot is deep enough to hold them securely
Step 4: Assembly
- Sanding: Sand all surfaces thoroughly, especially the dowel plugs and joints, until smooth [03:49].
- Join the Pieces: Use wood glue and 2-inch wood screws for every joint [04:33].
- Recess and Hide Screws: Use a 1/2-inch Forstner bit to drill a shallow “counterbore” hole before driving the screws [04:54]. This allows the screw head to sit below the surface.
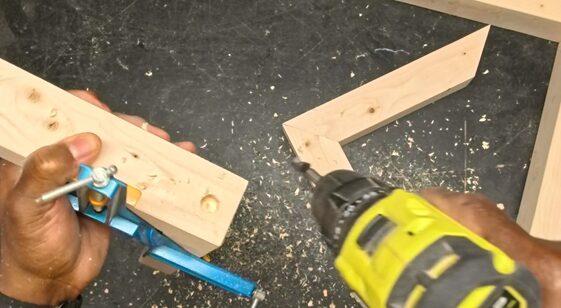
- Dowel Plugs: Glue a 1/2-inch wooden dowel into each hole to hide the screw, then cut the dowel flush with the wood surface [04:54].
Step 5: Install the Top & Finish
- The Insert: Slide your acrylic or glass sheet into the slots [05:48]. Alternatively, use the 1 1/8-inch wood strips cut to length and secure them with brad nails.
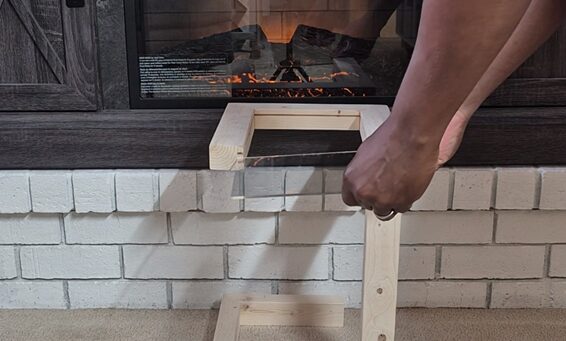
- Finish: Apply your preferred wood stain, oil, or clear coat to protect the wood and enhance the rustic look.
Watch the full process here: http://www.youtube.com/watch?v=aZTVHJ-VsKM
PRO TIPS:
💡 You can make all of these cuts with just a circular saw and a speed square if you don’t have a miter saw. Take your time and use a straight-edge guide for rip cuts.
💡 Use a miter square to double-check your 45° angle before every cut. Even a degree of error is visible on the finished piece.
💡 Don’t over-sand the natural character out of the wood. Knots, grain variation, and slight color changes are what make this piece beautiful.
Check out more blog articles here.

